Water Quality
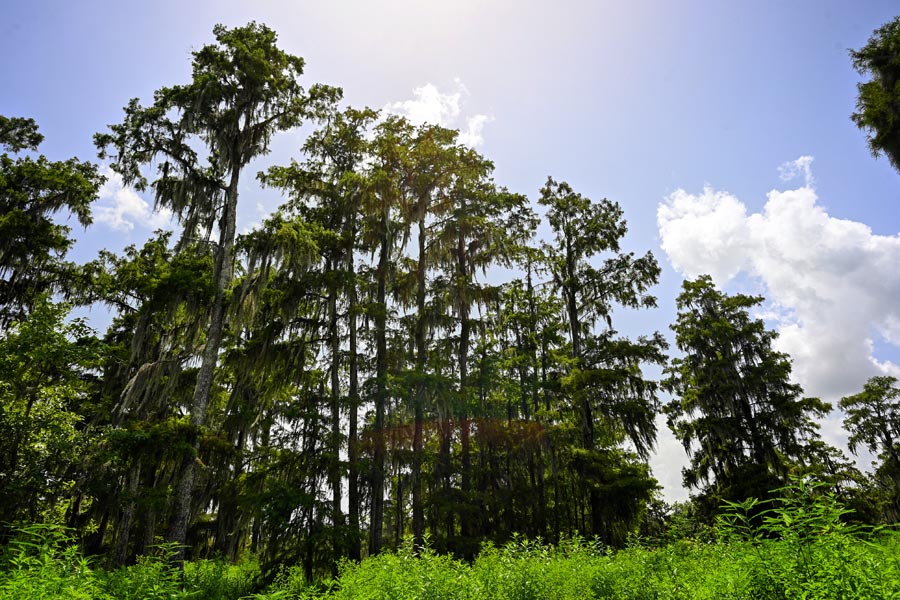
Our flagship Water Quality program is tasked with preserving the health and vitality of Lake Pontchartrain and its surrounding watershed. Using scientific research, thorough field work and extensive analysis, our passionate team of experts work constantly to improve the water quality of this precious ecosystem. By combining science with community engagement, we strive to ensure clean water for generations to come.
Water Quality Projects
Recreational Water Monitoring
Recreational Water Monitoring
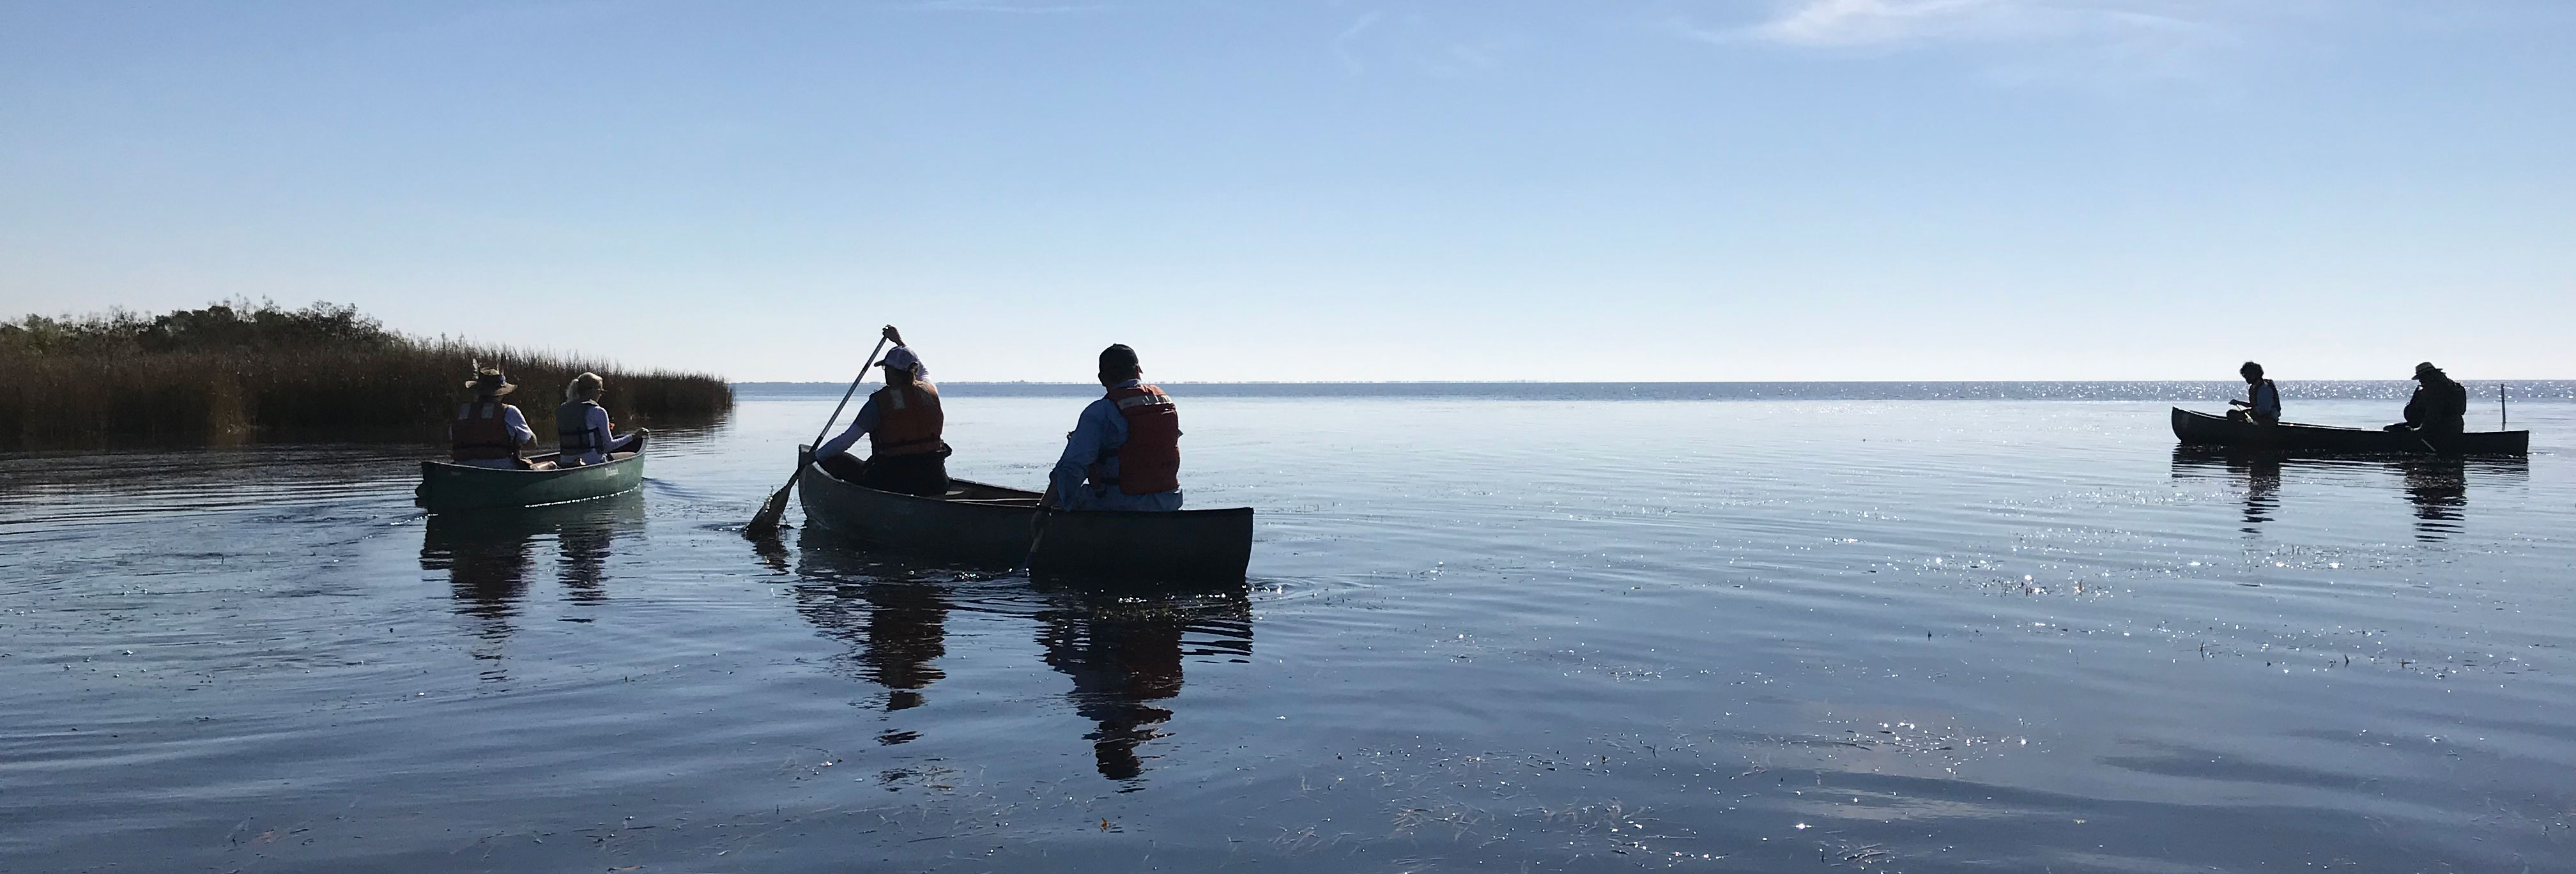
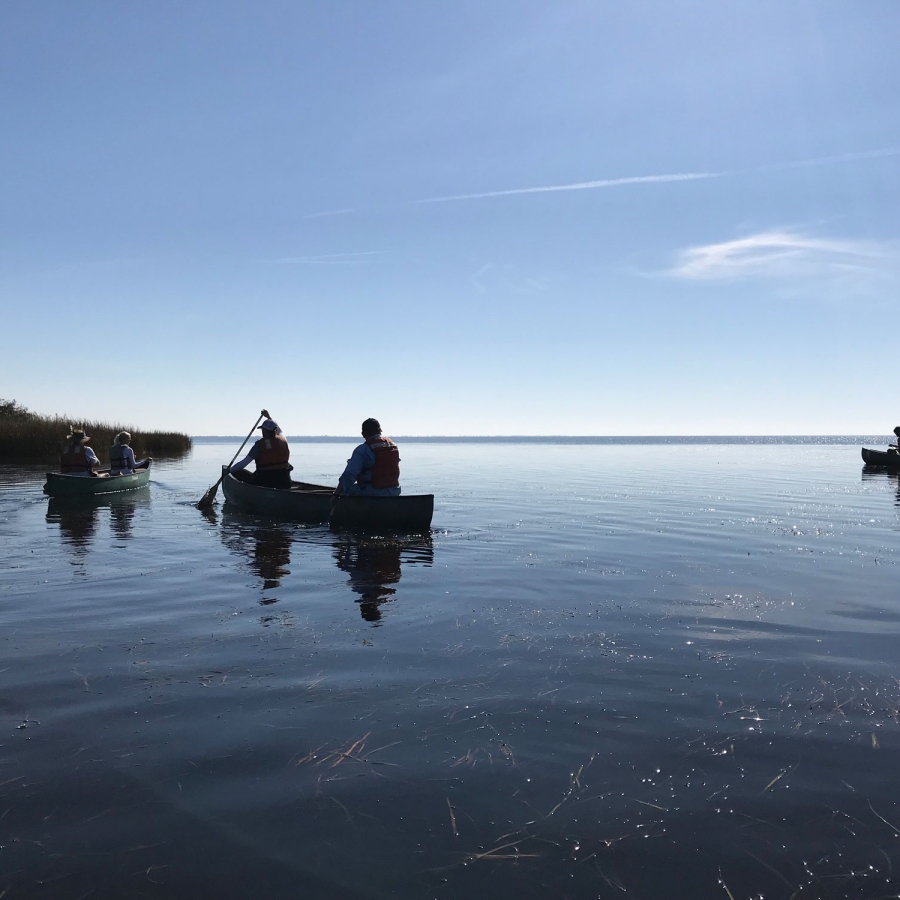
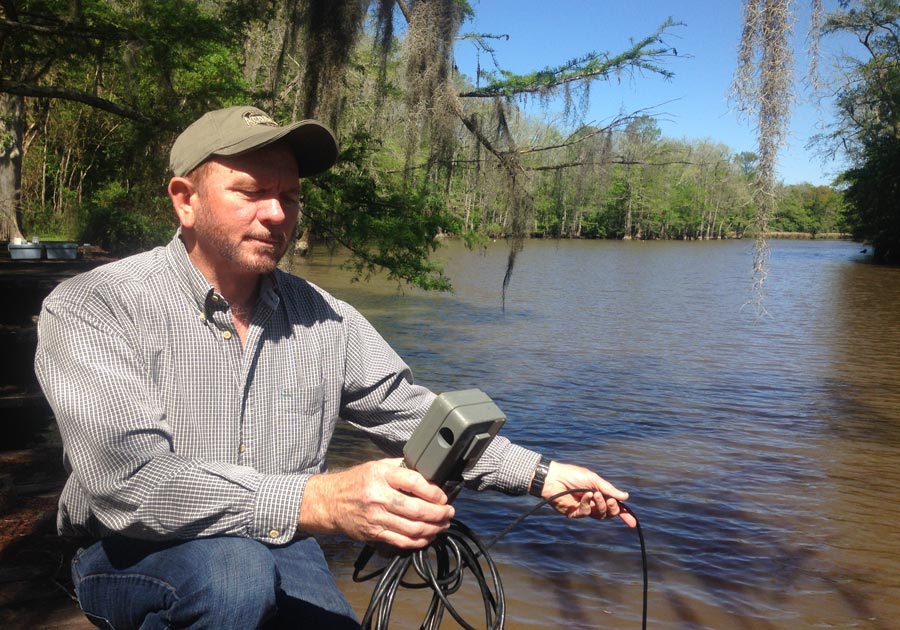
Launched in 2001, our water monitoring stands as a testament to our unwavering commitment to the health and sustainability of Lake Pontchartrain and its surrounding ecosystem. Our recreational water monitoring represents one of the longest-running scientific research projects on the Pontchartrain Basin.
Learn More
Our team samples thirteen recreational sites around Lake Pontchartrain on a weekly basis. Using EPA-approved methods, the team assesses various parameters like water temperature, dissolved oxygen, salinity, and more. To gauge water quality for recreation, the program tests for the presence of three key indicator bacteria: Fecal Coliform, Enterococcus, and E. Coli.

This program is designed to accomplish three critical goals:
- First, it serves as a valuable resource for accessible water quality information for the general public on a weekly basis. fostering greater awareness and understanding of the lake's condition.
- It plays a pivotal role in identifying sources of pollution that impact the lake. This helps as we work with the community to address those pollution sources.
- Lastly, the program serves as a rich source of data shared with a wide array of stakeholders.We work with researchers, citizens, students, and government agencies to develop programs to improve the Basin’s water quality and quality of life for our citizens.
In 2023, our water quality team will begin testing in Lake Maurepas to establish a baseline of conditions in this area.
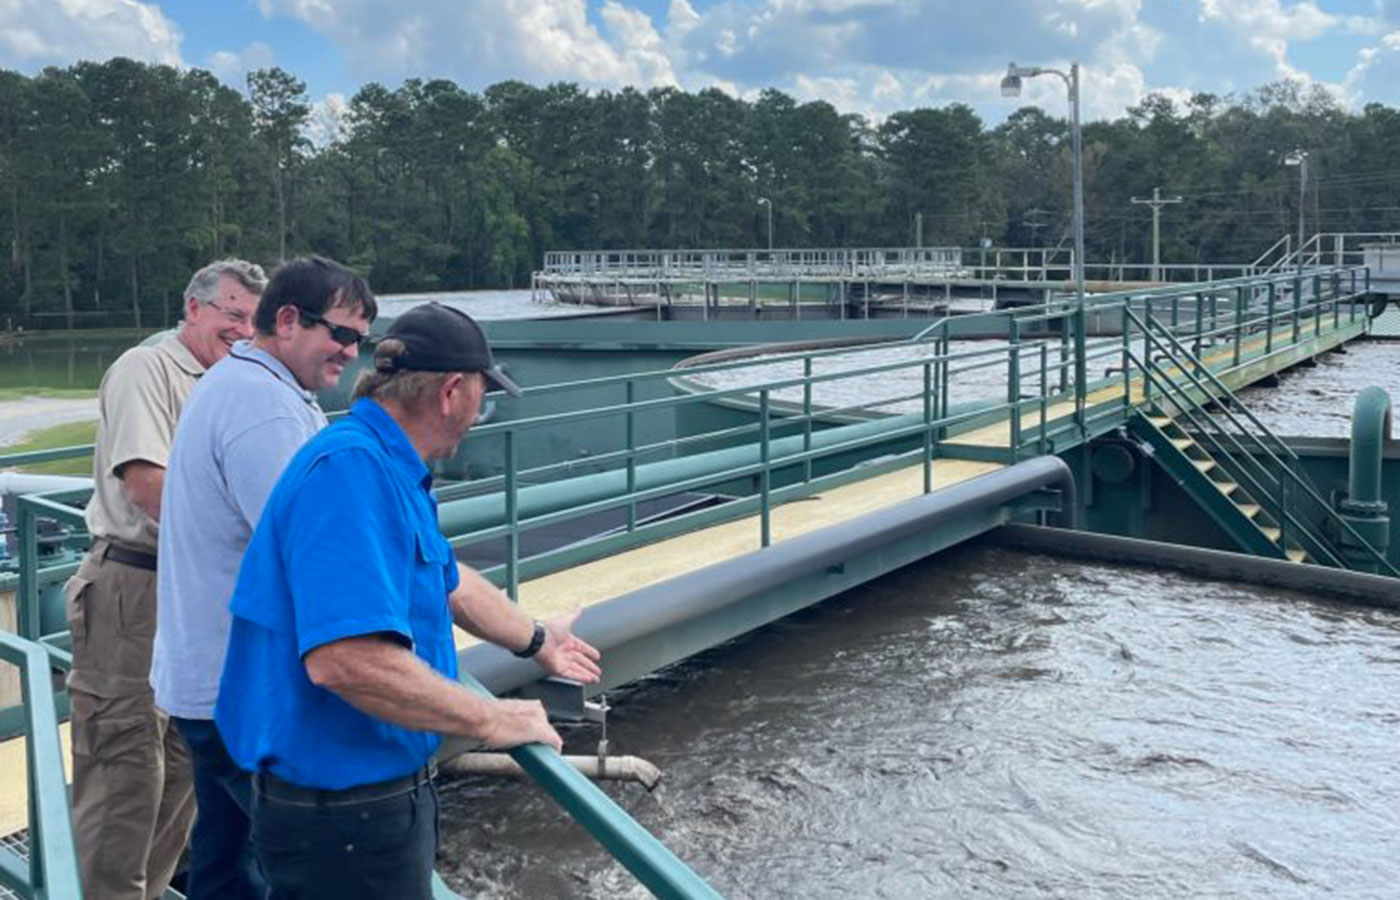
On-Site Wastewater Treatment Plants Assistance to Small Businesses and Homeowners
On-Site Wastewater Treatment Plants
Assistance to Small Businesses and Homeowners
For over twenty years, we have been assisting businesses and homes with their on-site wastewater treatment plants (WWTPS) in areas not connected to municipal sewer services. In unincorporated areas in the Pontchartrain Basin, there are roughly 150,000 of these on-site systems . Working with parishes, we educate and support owners to ensure their systems are functioning properly and do not discharge untreated wastewater into local waterways, protecting the ecology of the watershed.
Learn More
While larger municipalities like New Orleans have efficient wastewater treatment facilities, many rapidly developing areas around Lake Pontchartrain rely on on-site wastewater treatment plants (WWTPs). Unfortunately, some of these small systems are not functioning correctly, leading to water contamination in the rivers and tributaries of Lake Pontchartrain. Our data shows that these individual systems often fail at about a 50% rate. Despite significant improvements in Lake Pontchartrain's water quality over the past 25 years, the impact of sewage sources is still felt.
Our water quality team works with owners to understand, assess, and repair these systems. In some of our project work, we have improved onsite WWTP pass rate from 59% to 95%. While we focus our work on watersheds for projects, we are here to help with any questions or concerns regarding individual wastewater treatment plants. Contact us for more information.
Our water quality team works with owners to understand, assess, and repair these systems. In some of our project work, we have improved onsite WWTP pass rate from 59% to 95%. While we focus our work on watersheds for projects, we are here to help with any questions or concerns regarding individual wastewater treatment plants. Contact us for more information.
Bayou Bonfouca
Our latest project is in Bayou Bonfouca, where we are partnering with St. Tammany Parish. In this project, parish inspectors will conduct home system inspections, while PC will conduct water quality monitoring in the water outfall areas. By monitoring the water quality of the bayou, we will be able to see real time impacts of the inspection program.
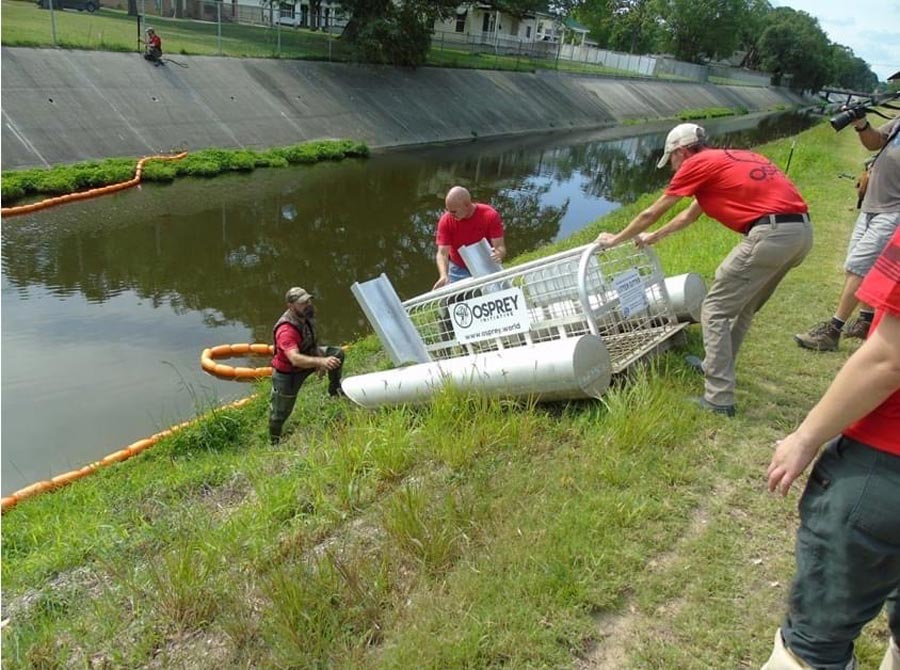
Litter Gitters
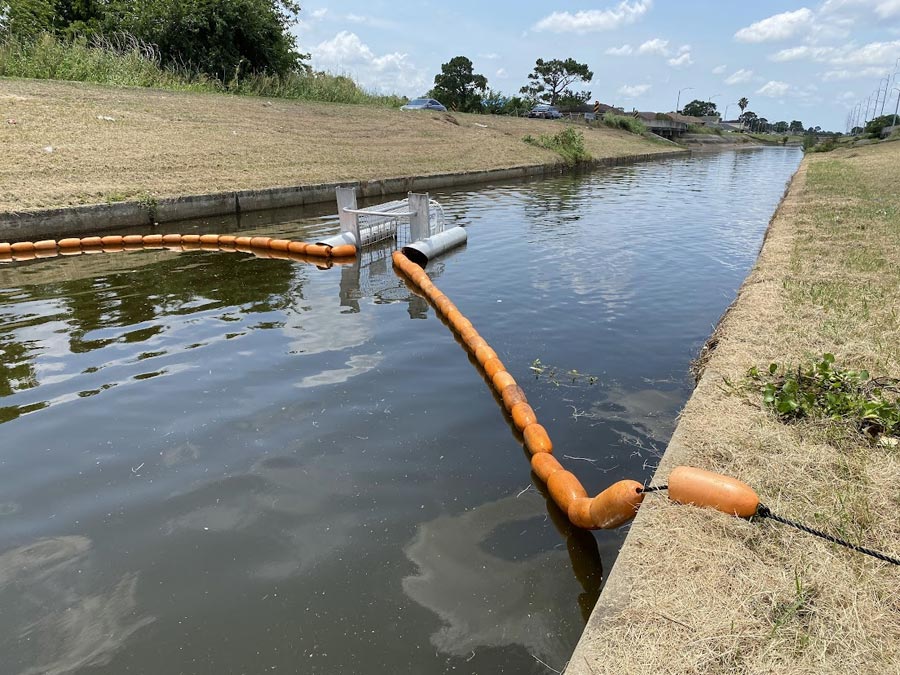
Litter Gitters
The aluminum Litter Gitter is a floating structure that uses booms to direct the flow of water and litter into a trap, preventing it from going farther downstream. Partnering with the Osprey Initiative, we have instituted their Litter Gitter program in various regions across the basin. In Tangipahoa Parish, our Litter Gitter trapped over 227 pounds of trash! We currently have Litter Gitters deployed in Little Woods in New Orleans East and Jefferson Parish.
Learn More
Polluted stormwater runoff is the leading cause of pollution in our surface waters. During rain storms, runoff washes over streets and into storm drains, taking litter with it into storm drains and then into local waterways. This runoff can degrade water quality and harm aquatic life in our creeks, which then feeds into our lakes and oceans. To combat this, the Osprey team handles all aspects of installing and maintaining these “trash traps” and compiles data on the items caught in them, recycling as much of the litter as possible.
The Osprey team visits the installation sites after every rain event to collect the trash caught and document what’s been caught in the structures. By intercepting litter at its source, these devices play a crucial role in minimizing the environmental impact of pollution in our local waterways.
The Osprey team visits the installation sites after every rain event to collect the trash caught and document what’s been caught in the structures. By intercepting litter at its source, these devices play a crucial role in minimizing the environmental impact of pollution in our local waterways.
Pollution Source Tracking
Pollution Source Tracking
To preserve the health of rivers and streams in the Pontchartrain Basin, we began the Pollution Source Tracking Program in 2002 to track down and clean up pollution sources. Today, we have multiple projects to target rivers on the north shore.
Learn More
To track pollution sources, we combine all of our water quality, public outreach, and education programs and cooperate with state and local agencies to focus our efforts in a single watershed. We have seen success with this program in the Bogue Falaya and Tchefuncte Watersheds in St. Tammany Parish, and the Tangipahoa and Natalbany Watersheds in Tangipahoa Parish. We currently are targeting the Natalbany Watershed in Tangipahoa Parish and the Bogue Falaya/Abita Watershed in St. Tammany Parish.
The program has also led to reductions in fecal pollution in more than 10 waterways. We will continue working with state and parish entities to coordinate efforts within the watershed. Education and outreach is an important part of this program. We do this in several ways:
- We offer technical assistance to commercial and home WWTP owners/operators.
- With the assistance of LDEQ and LDHH, we produce and distribute resources to educate homeowners on the care and maintenance of home WWTPs.
- We share the successes of the project through presentations at conferences, publications in journals, and posts across our social media platforms.
Partnering with LSU Engineering
LSU Engineering professors Aaron Bivins and Samuel Snow are researching untreated wastewater in the Yellow Water and Natalbany rivers. They use a new testing method that can tell if contamination is coming from human waste versus that of animals. If the source is found to be human waste, the researchers will know that malfunctioning home wastewater systems are releasing untreated sewage into the rivers.
Our reports will be used to find the location of these waste sources. Working with Bivins, Snow, and parish officials, we will go door to door to connect with residents so they can help determine solutions. The LSU professor’s goal is to eventually create a smaller, more affordable disinfection method for home sewage systems to help reduce pollution in our Basin.
If you live near these watersheds and would like more information, please contact us.
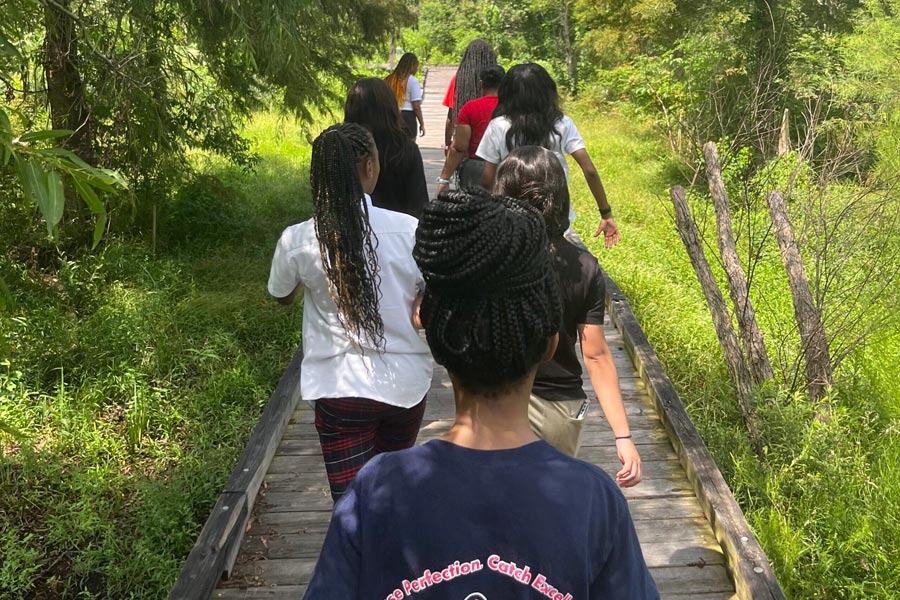
Community Science Program
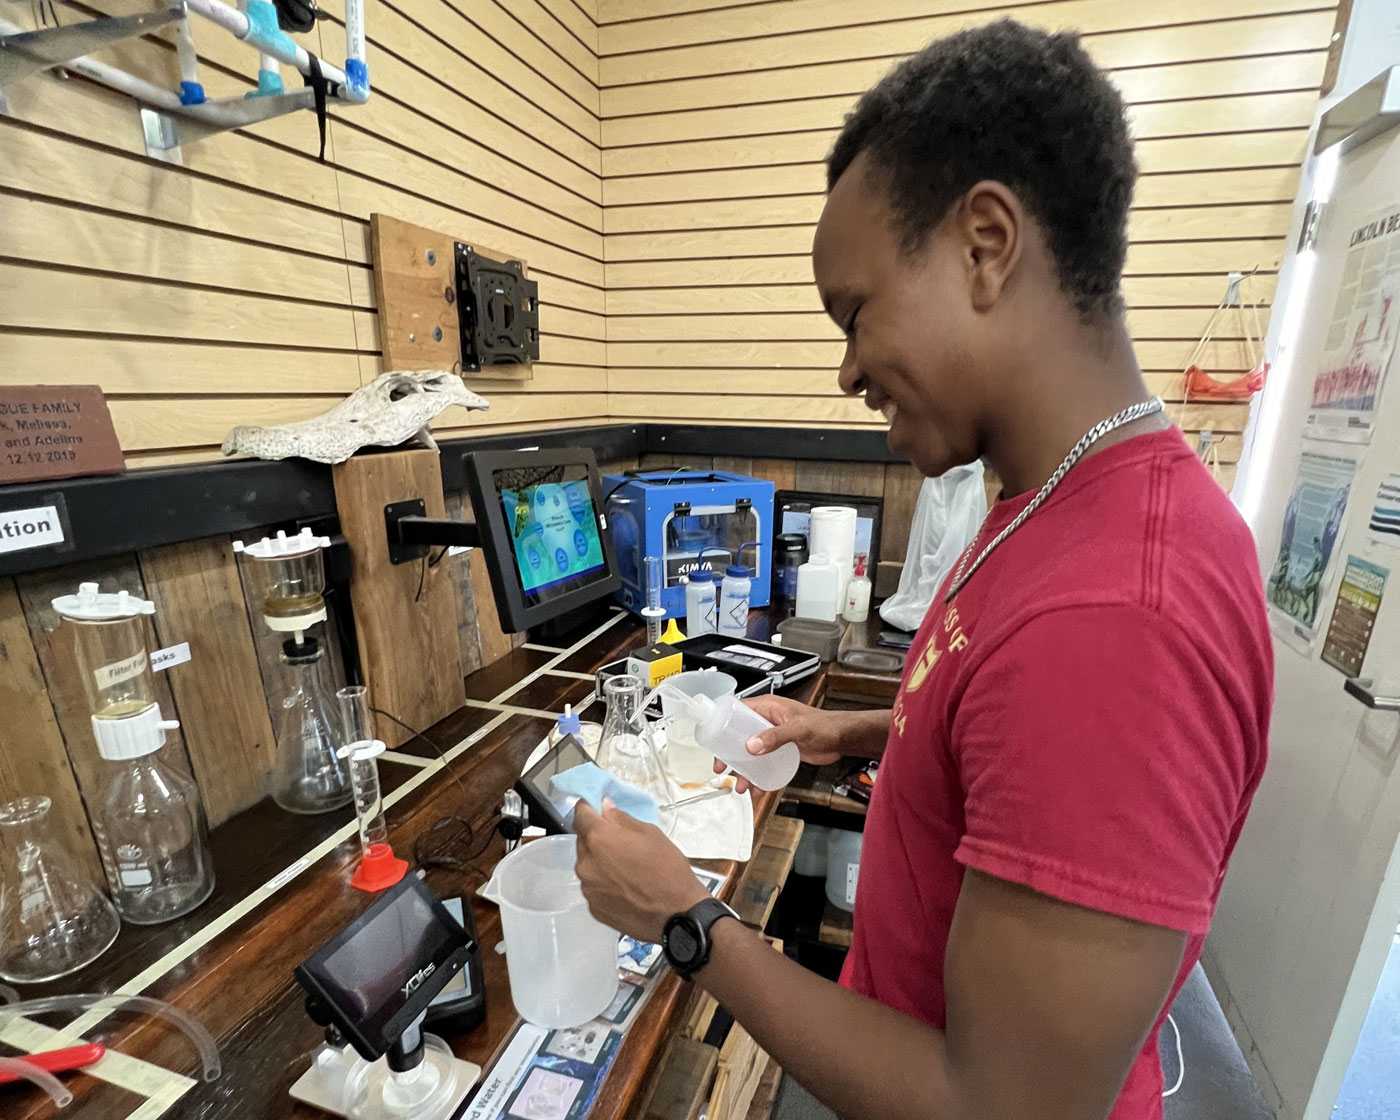
Community Science Program
Our Community Scientist Program gives residents the opportunity to learn what’s in local waterways or in our drinking water. Residents can learn how to take samples correctly and then bring them to our community lab at the Lighthouse for testing.
Learn More
School groups, scouts, home school groups, or just concerned citizens can participate in this program. It’s a great way to learn more about your local water quality or to get students more involved in the science available to them right at home. For more information, please contact us at waterquality@scienceforourcoast.org.
Community Science Results
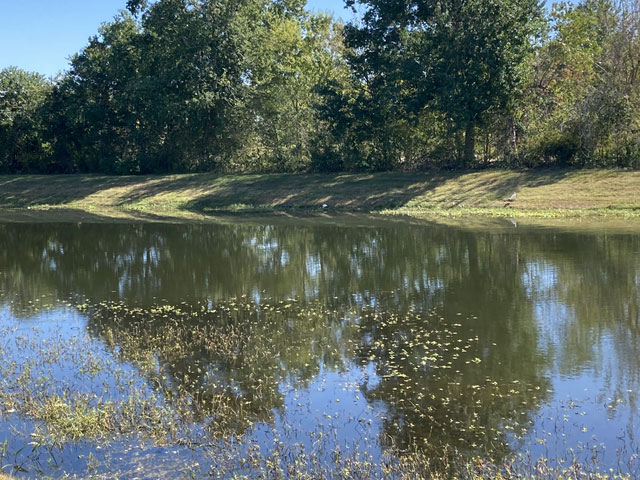
Water Quality and Green Infrastructure
Water Quality and Green Infrastructure
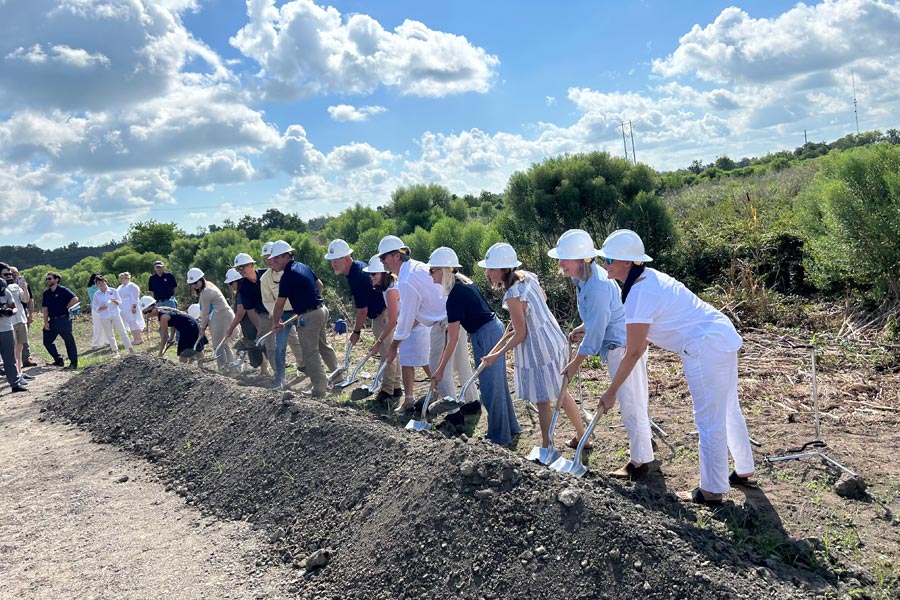
As a partner with Song Community Development Corporation, we are working with community members to build green infrastructure projects along the waterways and canals in the New Orleans East community. Since the release of the Greater New Orleans Urban Water Plan, there has been immense potential for green infrastructure to mitigate flooding, store rainwater, and improve the aesthetics of our communities. In addition, these improvements also stand to improve the downstream water quality of our canals, bayous, and estuaries.
Learn More
Community members of New Orleans East will be involved in the project design and development process. This project promotes environmental justice by creating green infrastructures that will help with stormwater management and nutrient runoff in the area.
Pontchartrain Conservancy will conduct water quality monitoring before and after green infrastructure installations are built, testing for typical pollutants and water runoff rates. By comparing pre- and post-construction runoff rates, the effectiveness of green infrastructure on water quantity can be determined. Data analysis will determine how effective the installations are in naturally filtering out the pollutants through native plants and a custom-designed soil mix before the runoff enters the drainage system. The data will be collected, analyzed, and shared as community outreach and teaching workshops.
Pontchartrain Conservancy will conduct water quality monitoring before and after green infrastructure installations are built, testing for typical pollutants and water runoff rates. By comparing pre- and post-construction runoff rates, the effectiveness of green infrastructure on water quantity can be determined. Data analysis will determine how effective the installations are in naturally filtering out the pollutants through native plants and a custom-designed soil mix before the runoff enters the drainage system. The data will be collected, analyzed, and shared as community outreach and teaching workshops.
Thank You to Our Sponsors
Thank You to Our Partners
Get Involved
Discover the many ways you can contribute to save Southeast Louisiana. Take part in a tree planting, aid in gardening and instruction at our Lighthouse, or giveback in other ways. We need you today!
Support Our Work
By supporting Pontchartrain Conservancy, you have the opportunity to help save the Louisiana you know and love. Your support enables us to build a sustainable, prosperous, and resilient region together.